Minecraft In Space
WorldEdit
Minecraft is about building things with blocks. If you do a lot of building though you can find certain tasks tedious. It becomes like using a typewriter. Making letters is fast, but working with more than one letter is not. You wish you could do things like quickly fill or delete large spaces, quickly create simple shapes, and the holy grail of word processing, Cut and Paste!
That is exactly what WorldEdit does for you.
WorldEdit has a vast array of commands and their own tutorial at the WorldEdit Wiki. I am just going to try to cover the basics here in a simple way.
Bearings
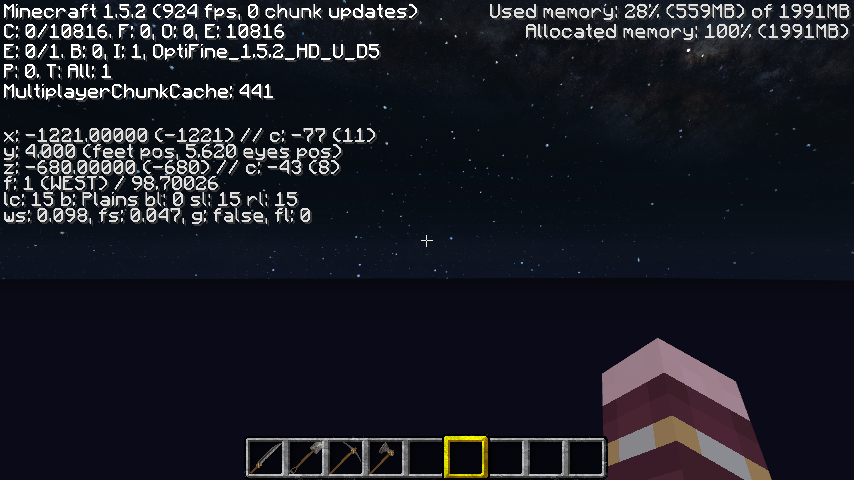
First it might help to have some data to help us get our bearings in the vast emptiness of space. Press the F3 key on your keyboard to bring up a field of data over your screen. It isn't very pretty, but it can help while you are getting started in the dark.
The three lines x, y and z show your three dimensional position. Use these to get an idea of
which way you are going and where you are in relation to where you were before.
The f line tells you which way you are facing. This is very helpful in turning when you have no
frame of reference. Otherwise it is easy to go in circles by accident.
Getting Started
There are two ways to "select" an area to work with in WorldEdit. One based on your location and one based on your tool's currently highlighted block. The tool method is more precise, but we'll start with the position method, since we've got nothing to focus our tools on yet.
Note that WorldEdit commands always use two forward slashes instead of one, like this:
//. This helps separate WorldEdit commands from others.
Move forward a little bit, and then type:
//pos1
Now turn around, go back a little ways, and also down just a little bit, and type this:
//pos2
Now type:
//set iron
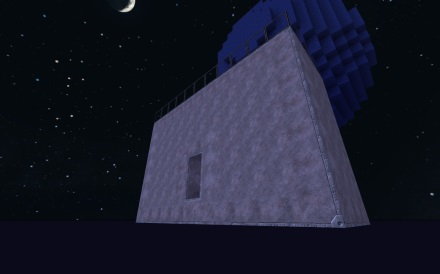
You will probably be shoved over a little bit, and if you turn around you will see an iron block! You have
just selected a section of space, and "filled" it with iron. You can use any block you want. If you want to
clear a space use //set 0. If you cannot figure out the name of a block, you can use the block's
ID number, which you can get from a Minecraft ID List
site. There is a number for every block, and you can use those instead of the names.
Once your position is set, you can use the same selection to refill with anything,
//set obsidian
For a little "Space Odyssey" feel
Finally, no matter what you've done, you can always undo it with:
//undo
Even if you've just accidentally created an amazing mess, just use undo to put it back the way it was. Only vary rarely will this leave any artifacts of your mistake.
Basic Selection
Descend back down onto your block.
If you undid it, changed it to 0 or obsidian, just make it iron again with //set iron.
Iron is nice and bright in the night sky, and gives a feeling of solidity. :)
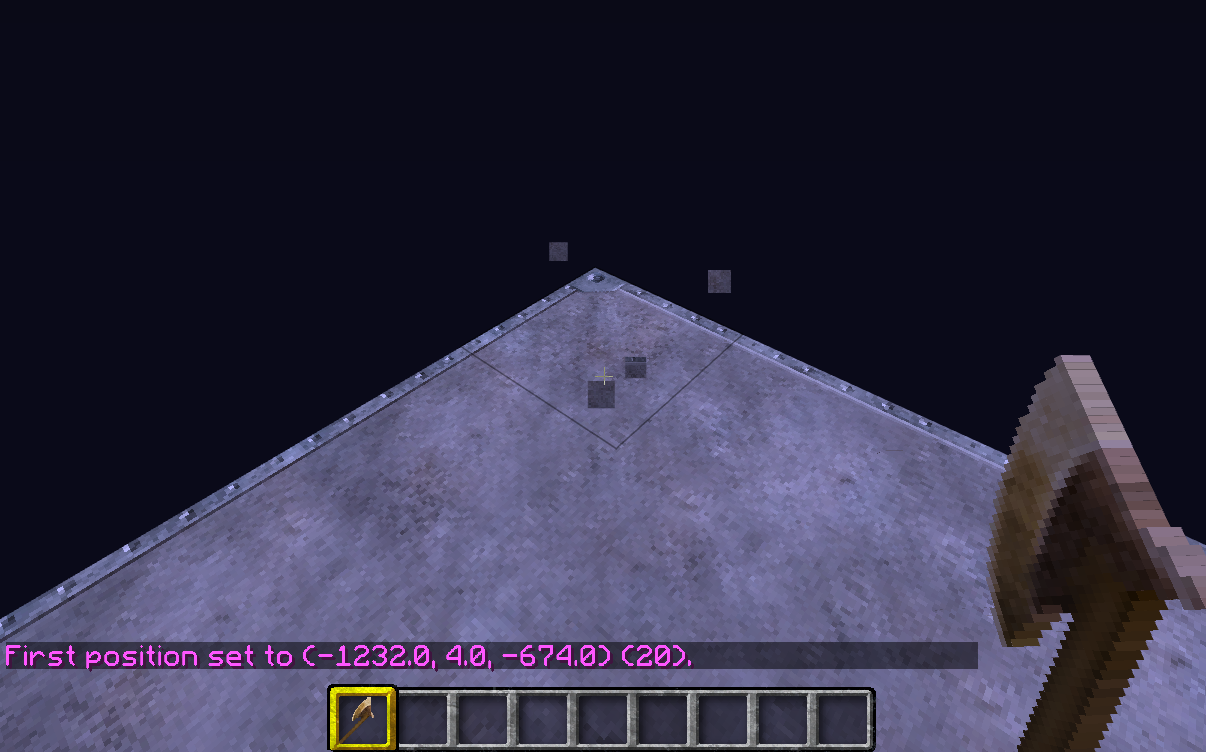
Select a wooden ax from your inventory and hold it in your hand.
Left click on the corner block of your box as if you are going to mine it. It should not mine it, though it may look like it is. It should instead tell you that "First position set" with the coordinates of that block.
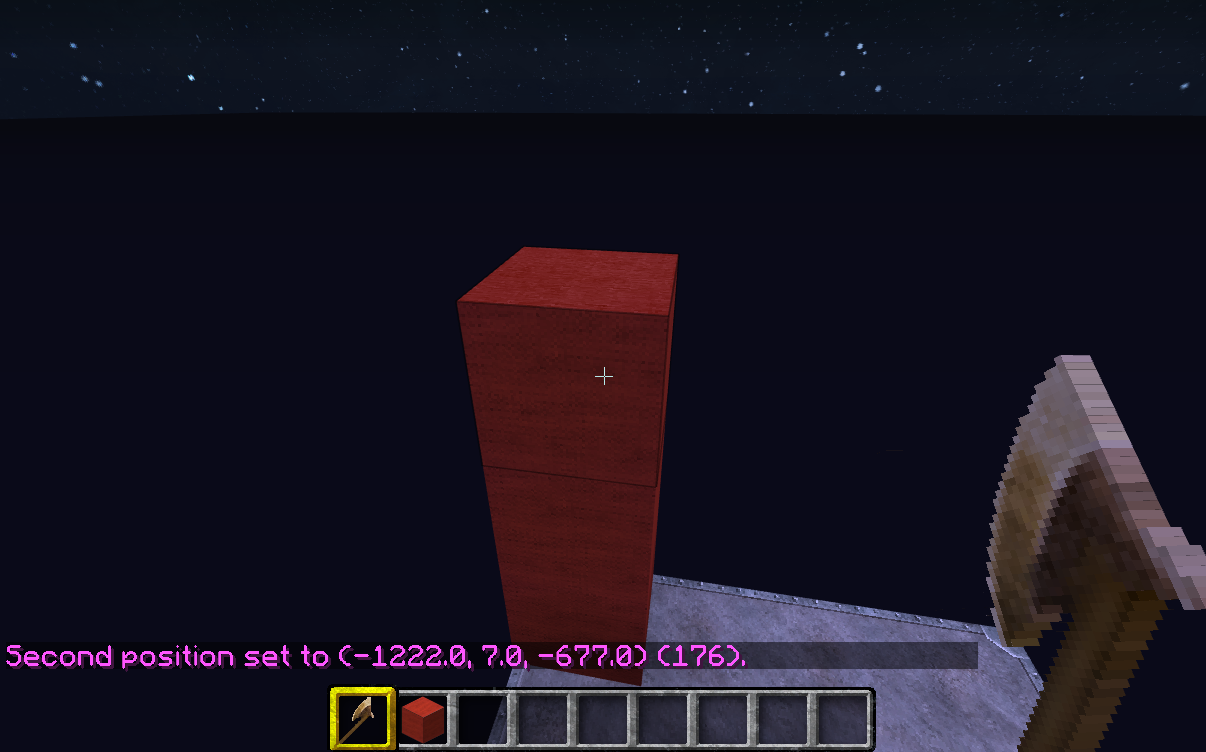
Now go to the opposite corner of the block, and build a few block on it. Then get your wooden ax in your hand and right click on it. It should tell you that the "Second position set" with the coordinates of that block.
Now you know how to select a section with tools based on blocks.
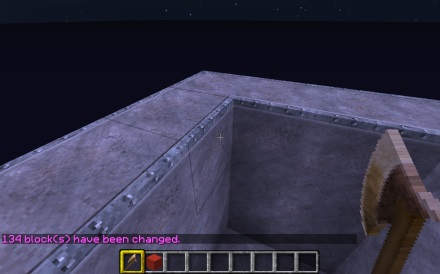
Basic Building
Let's make some walls here, so type:
//walls iron
Instant walls! Unlike the "set" command which fills the space, walls just makes an empty shell on all four sides.
More Building
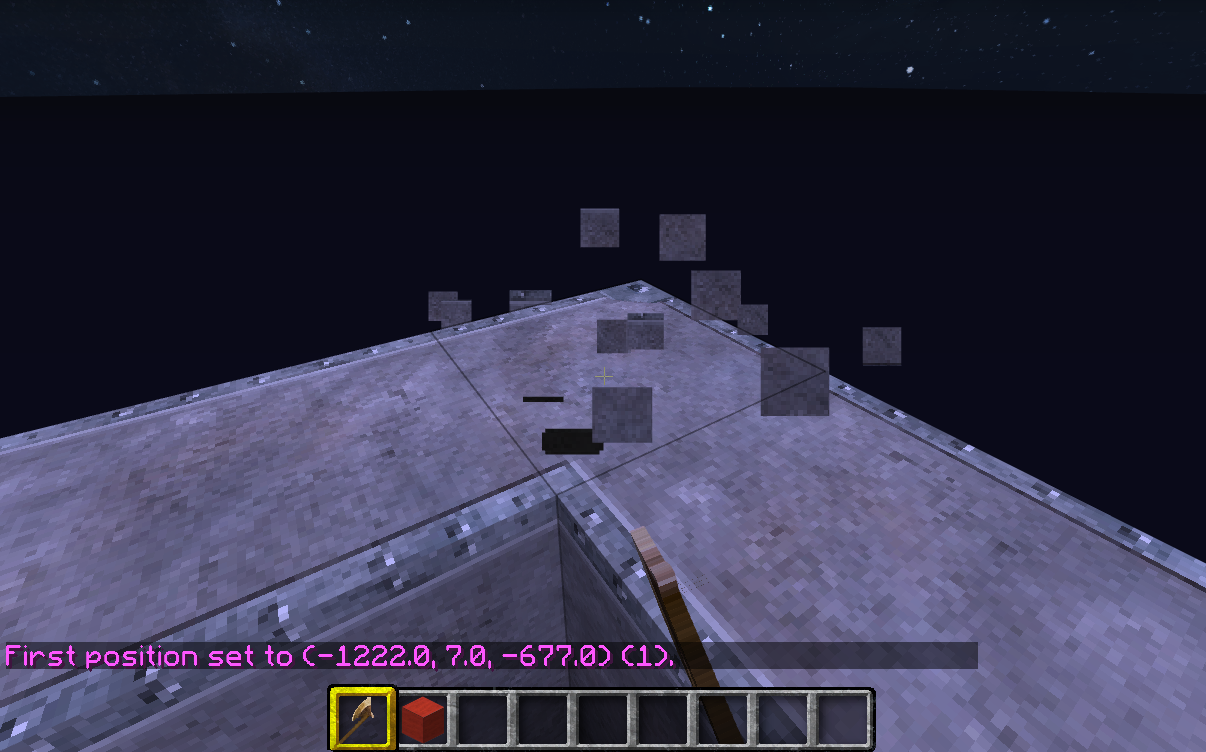
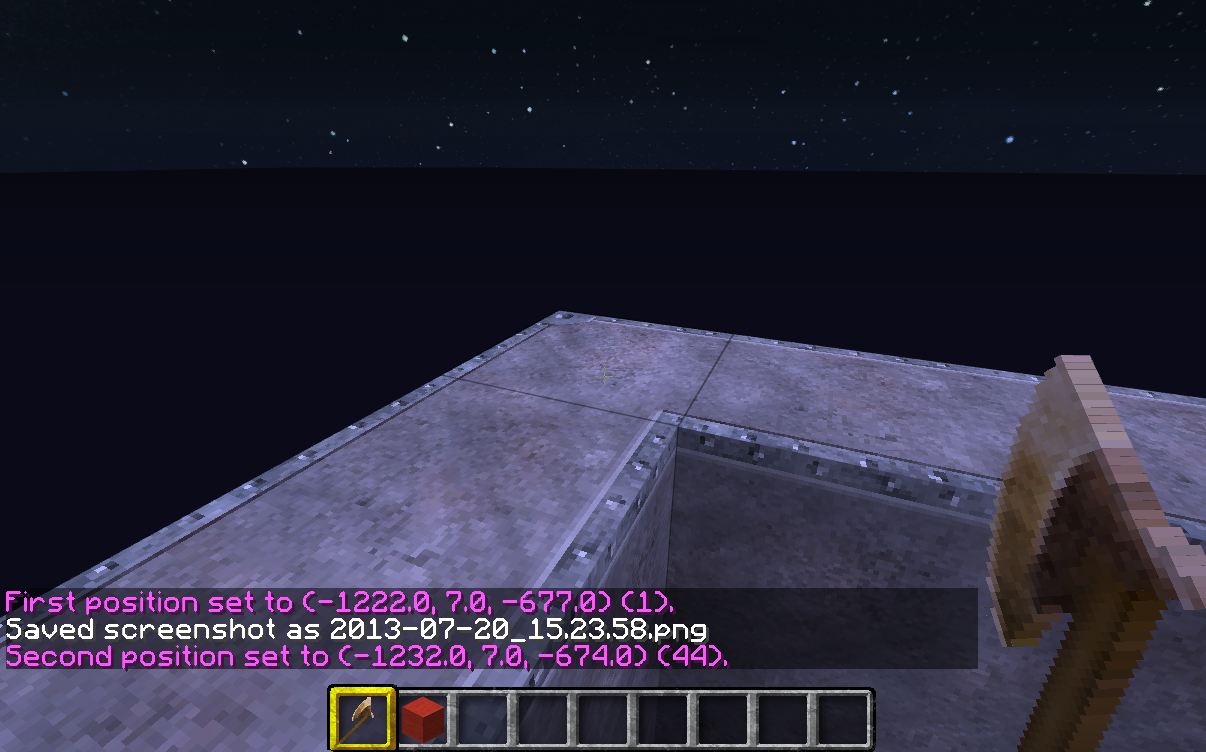
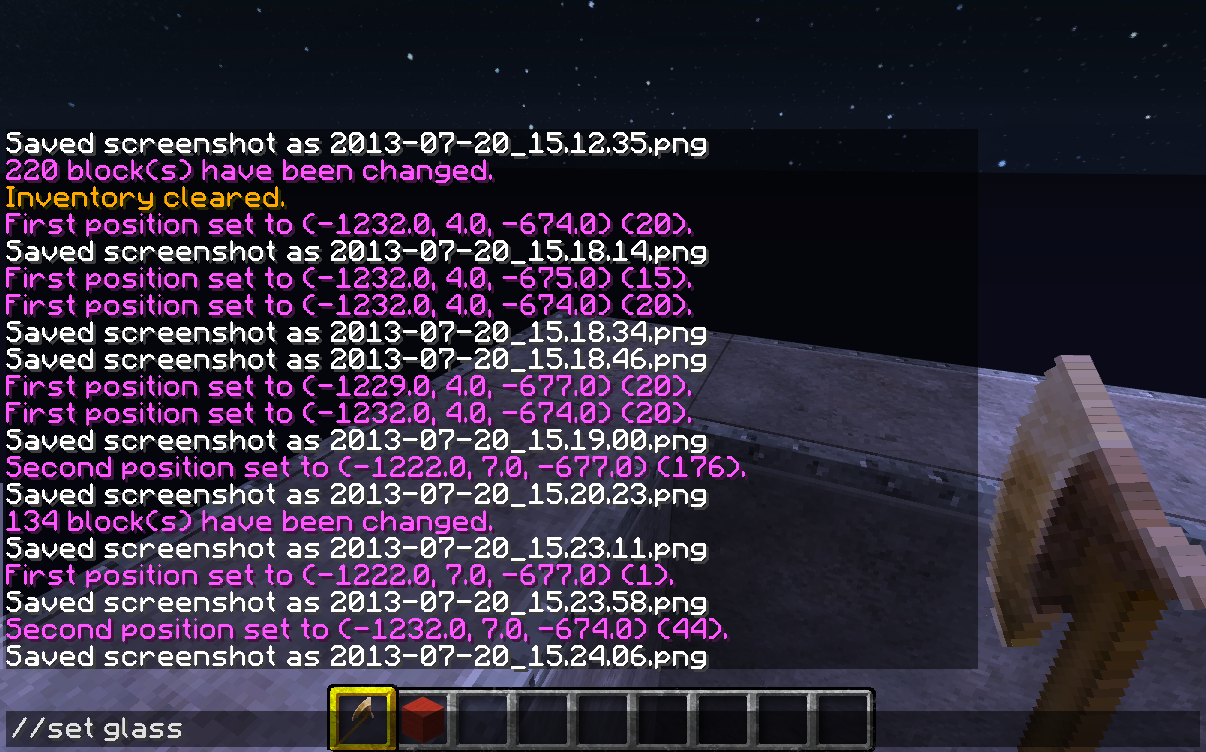
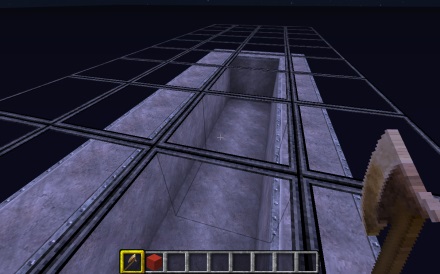
To make a roof just select the two top corner blocks as your positions and type //set glass:
Planets
Finally the fun part, planets!
Fly up into the sky a ways, go anywhere really, and type:
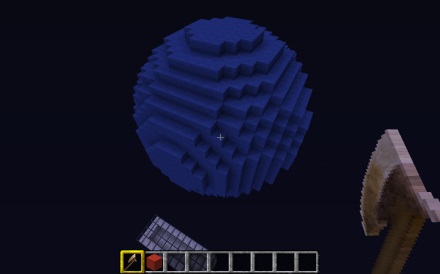
//sphere wool:blue 10
/top
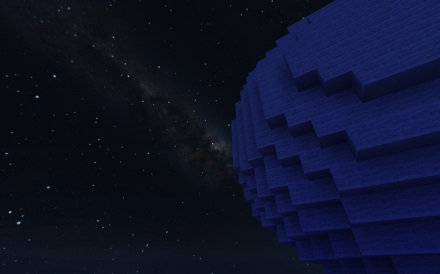
Now fly up and off and look back at your planet! Fly down and look up at it to see it against the stars! The
number on the end of the command is the size. Use different numbers to make smaller or larger spheres. You can
also use //hspere to make hollow spheres instead of filled ones.
Caution! Making spheres is hard on the server. I usually don't make them any larger than 15 or 20. If you starting making 30, 35 or 40 size spheres you will probably crash your server and lose your progress.
Get creative
With these commands you should be able to build anything you want in space, including populating your galaxy with planets.
Command Reference
While you can find a complete command reference at the WorldEdit Wiki here are the ones we used, plus a few other often used along with the movement commands you may find you need while using WorldEdit:
| Command | Description | Notes |
|---|---|---|
| //pos# | Set the selection points. | Replace "#" with 1 or 2 for first and second position. |
//set [item] |
Fill the selected area with item. | Use name or number. |
//walls [item] |
Create walls on four sides of the selected area with item. | Use name or number for item. |
//sphere [item] [size] |
Create a filled sphere centered on your location. | Use name or number for item. Use a number for the size. |
//hsphere [item] [size] |
Create a filled sphere centered on your location. | Use name or number for item. Use a number for the size. |
| //copy | Copy the selected area. | |
| //cut | Copy the selected area. | Leaves the area empty. |
| //paste | Paste what you copied or cut to the world. | The paste location is based on your position. |
| //undo | Undo the last operation. | N/A |
| /top | Move yourself to the highest solid block (not air) in the world at your position. | Use this after making a sphere. Also use it if you get lost in a cave. |
| /descend | Move yourself down to the next empty space in the world large enough to fit in. | Drop through the roof or explore for caves. |
| /ascend | Move yourself up to the next empty space in the world large enough to fit in. | Like an elevator! |
| /thru | Move yourself through the wall in front of you. | Useful for getting into boxes and other things without mining and rebuilding. |
Please see the WorldEdit Wiki for more information on manipulating the clip board, etc.
Next we learn to make spaceships with MoveCraft ->